Continuous Integration (CI)
The Y42 CI Check, triggered by a pull request (PR) or merge request (MR), generates a status report on affected assets, helping to prevent the merging of problematic code changes.
CI Check process explained
Triggering the CI Check
The CI Check is automatically initiated when a pull request or merge request is made.
Asset identification
The CI check identifies the assets that have been modified in the pull request, including any downstream dependencies these changes might affect.
Status evaluation
For each identified asset, the latest jobs are retrieved, and their statuses are evaluated to create a report on the asset's health, which is then sent back to either GitHub or Gitlab depending on your setup.
Continuous monitoring
As long as the pull request remains open, Y42 CI Check continuously monitors for any job updates related to the affected assets. This way, we ensure that the report reflects the most current status.
Report generation
A detailed report is generated, categorizing assets into healthy, pending, unhealthy, or stale, based on the latest jobs and providing an overall outcome of the check.
Breakdown of the CI Check report
The Y42 CI Check generates a report including:
- Overall outcome
- Number of modified assets and affected downstream assets
- Lists of healthy, pending, unhealthy (with downstream dependencies), and stale assets (with downstream dependencies)
Understanding your CI Check results
The overall status is determined as follows:
- If any affected asset has a failed latest job, the overall status will be 🔴 Check Failed.
- If there is at least one stale or never materialized asset, the status will be 🟡 Check Failed (indicating a failed check with specific concerns).
- If there are pending assets, the status will be 🔵 Pending (on GitLab, this is represented as a successful first step of the pipeline, and a second step not initiated).
- If none of the above conditions are met, the status will be 🟢 Check Passed.
Example: Safely implementing changes with the Y42 CI Checks
In this interactive demo, we'll modify an asset and explore how Y42 CI checks assist us in addressing any downstream issues resulting from our changes. The example will guide you through the process to ensure a safe merge of your modifications.
FAQ
What if the GitHub Cloud setup doesn't work as expected?
If you encounter issues with the GitHub Cloud Setup requiring manual intervention, it's important to ensure that the Y42 GitHub app has the necessary permissions to run CI Checks. These permissions are requested when you link your repository to a Y42 space. Required permissions include:
- Read access to checks
- Read access to pull requests
- Read access to repository hooks
Once granted, the Y42 CI Check will automatically be added as a check to any new pull request (PR), streamlining your CI process.
What if the GitLab Cloud setup doesn't work as expected?
Unlike GitHub, GitLab doesn't natively support external CI Checks, requiring additional setup steps. This can be automated or done manually, such as when migrating a space to GitLab or troubleshooting.
Create a Y42 API Key
To integrate CI Checks with GitLab:
- Navigate to Settings & IAM in your Y42 sidebar, open the
IAMtab, then theAPItab, and create a new API key. - Save the generated token securely, as it won't be visible afterward.
- Edit the API key's access: Set the org role to
Limited Accessand adjust the space role toViewerfor the desired space. - Save your changes.
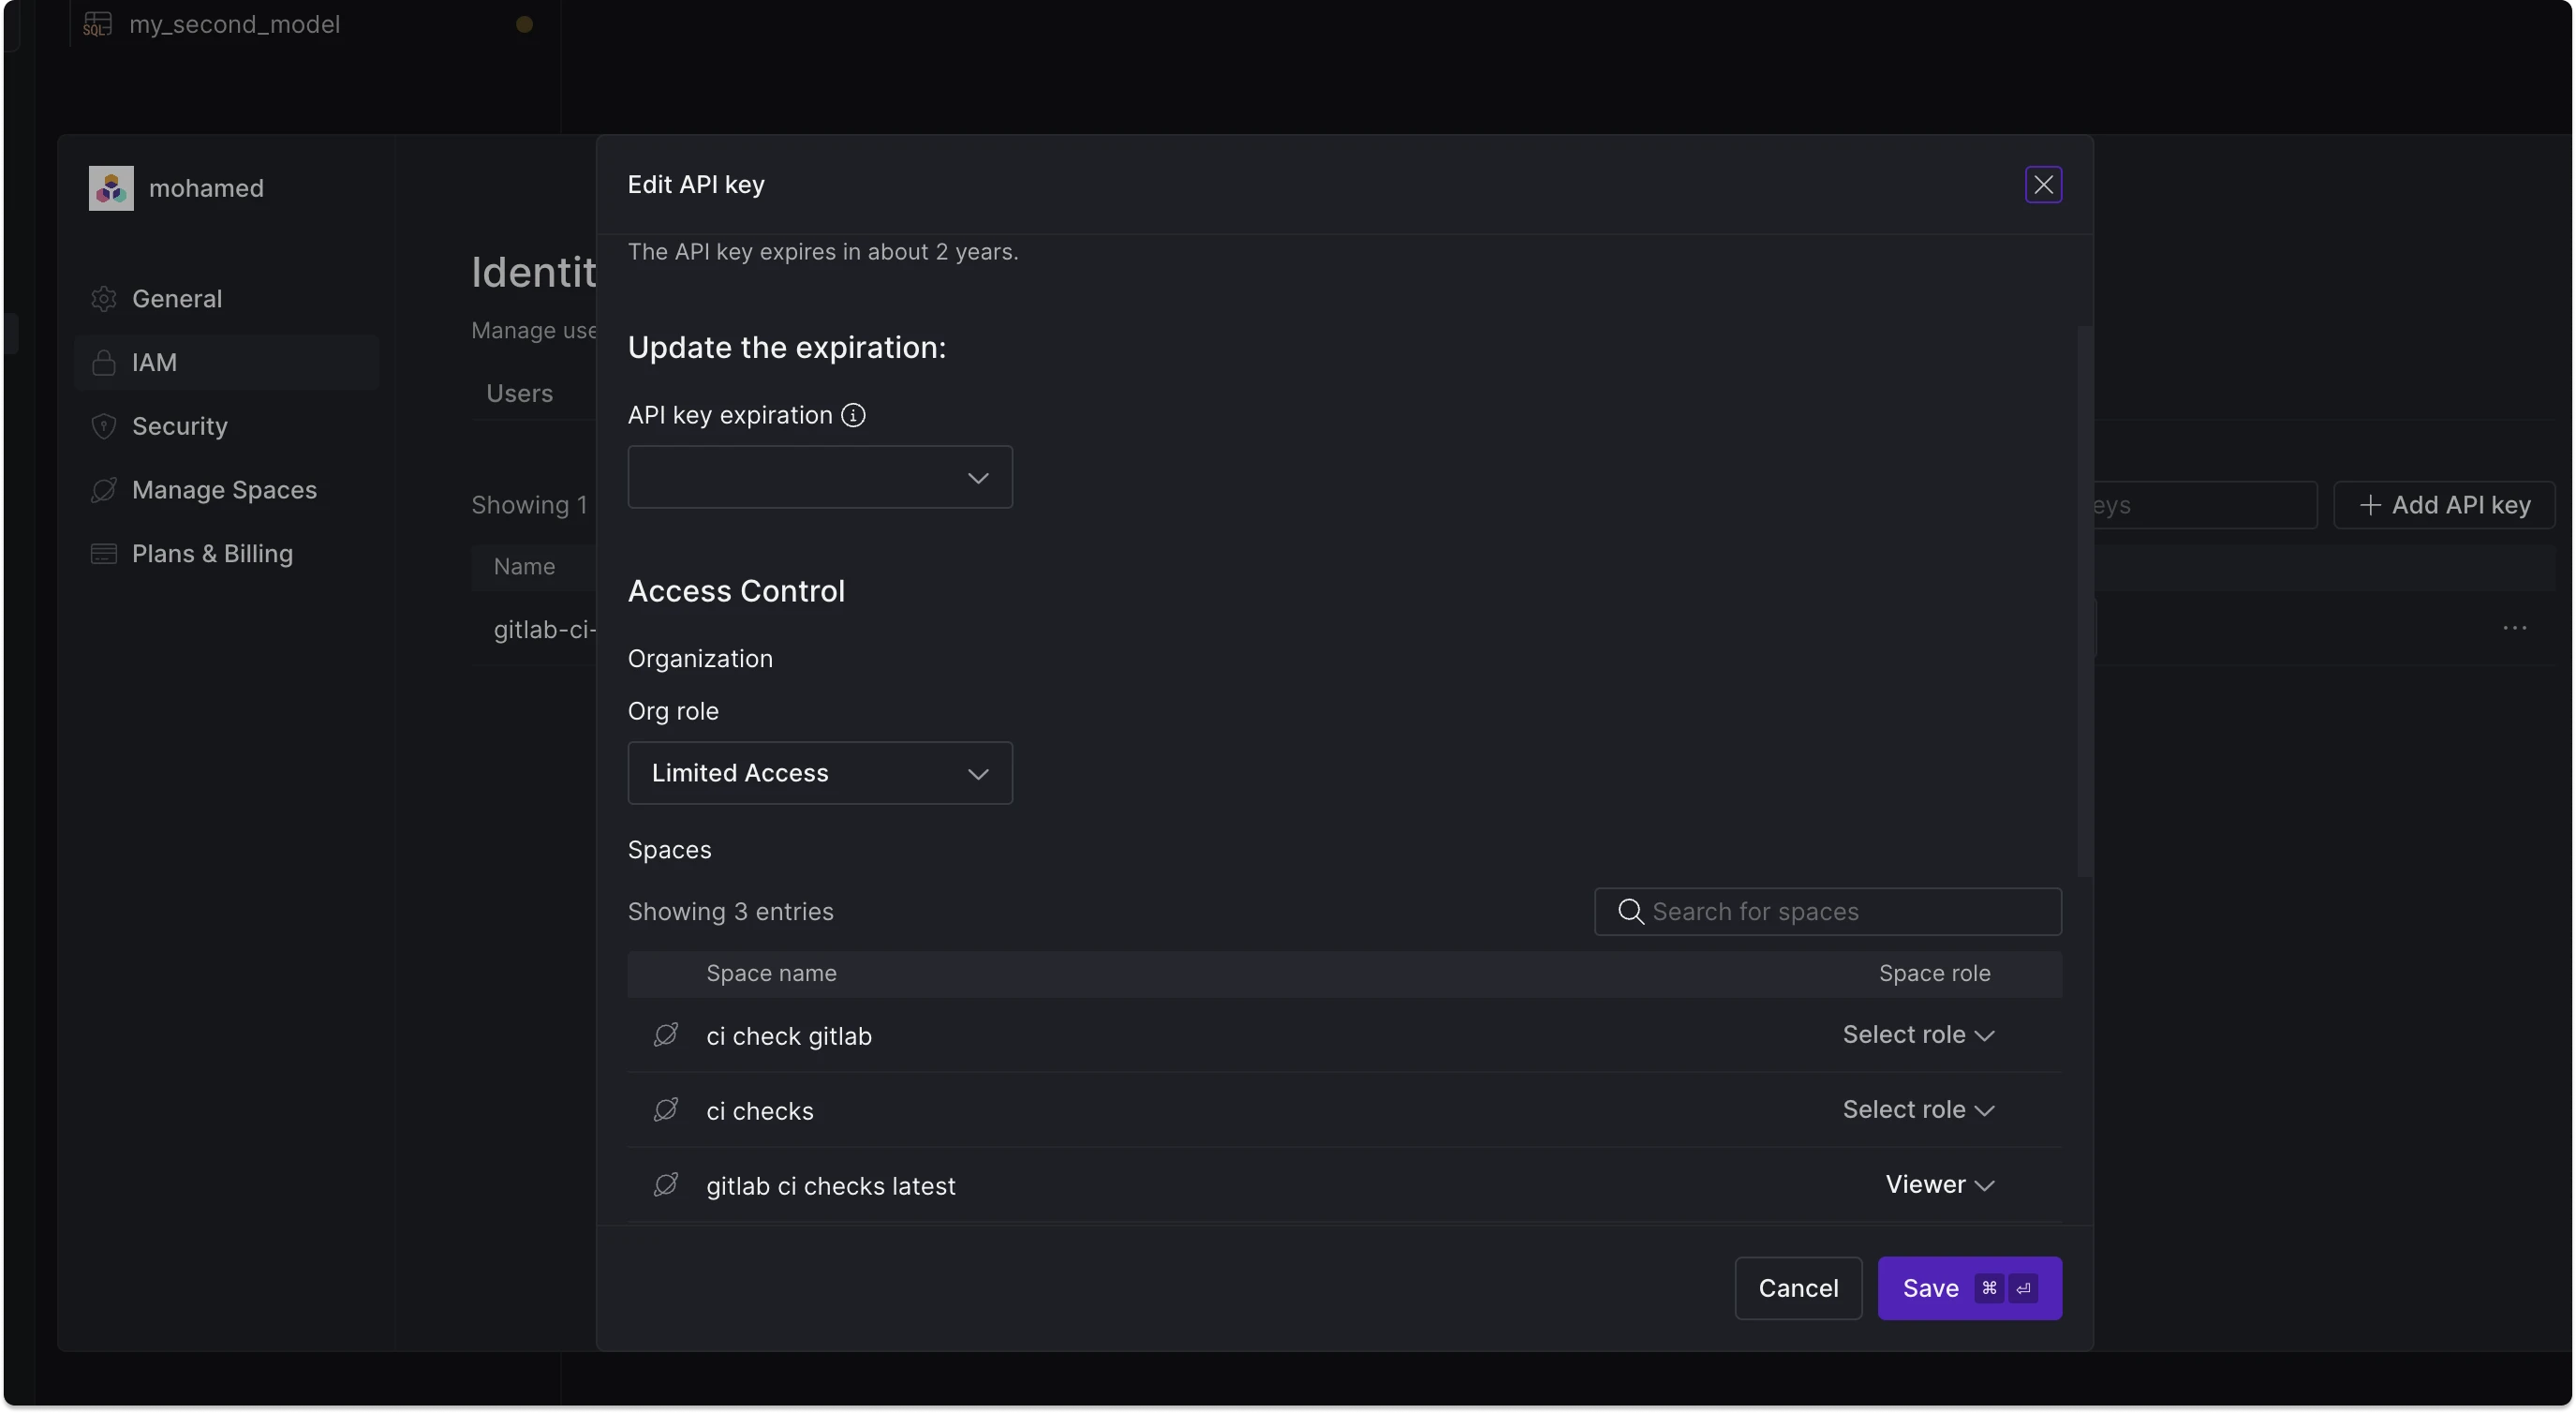
Create a Y42 API key.
Add Y42 CI Check Environment Variables to Your GitLab repository
Next, add Y42_BASE_URL and Y42_API_KEY environment variables to your GitLab repository's pipeline:
- Go to your GitLab repository settings, select CI/CD, and then the Variables section.
- Click on the
Add variablebutton. Make sure theExpand variable referenceis ticked. Add a new variable with the keyY42_BASE_URLand the valuehttps://api.y42.dev/api/1/hooks-service. - Repeat the process for
Y42_API_KEYusing the previously saved API key value.
Configure Merge Request Pipeline Jobs
The last step is to add the CI check pipleine jobs to your incorporate CI check pipeline jobs into your .gitlab-ci.yml pipeline file. Add the following code snippet to .gitlab-ci.yml:
_37stages:_37 - trigger_37 - read_37run-check: # This job triggers a Y42 CI check and finishes w/o waiting for a result_37 stage: trigger_37 variables:_37 CI_CHECK_COMMAND:_37 curl --fail-with-body --no-progress-meter -H 'Authorization: Bearer $Y42_API_KEY' -H 'Content-Type: application/json'_37 '$Y42_BASE_URL/gitlab-app-check/'_37 -d '{_37 "gl_merge_request_id": $CI_MERGE_REQUEST_IID,_37 "gl_project_path": "$CI_PROJECT_PATH",_37 "gl_project_id": "$CI_PROJECT_ID",_37 "gl_repository": "$CI_PROJECT_NAME",_37 "gl_id": "$GITLAB_USER_ID",_37 "gl_pipeline_id": "$CI_PIPELINE_ID",_37 "provider_name": "gitlab"_37 }'_37 rules:_37 - if: $CI_PIPELINE_SOURCE == 'merge_request_event'_37 script:_37 - echo "$CI_CHECK_COMMAND"_37 - eval "$CI_CHECK_COMMAND"_37read-check: # This job is triggered by Y42 automatically when the CI check is finished_37 stage: read_37 variables:_37 CI_READ_COMMAND:_37 curl --fail-with-body --no-progress-meter -H 'Authorization: Bearer $Y42_API_KEY'_37 '$Y42_BASE_URL/gitlab-app-check'_37 -G -d gl_pipeline_id=$CI_PIPELINE_ID -d gl_merge_request_id=$CI_MERGE_REQUEST_IID_37 when: manual_37 allow_failure: false_37 rules:_37 - if: $CI_PIPELINE_SOURCE == 'merge_request_event'_37 script:_37 - echo "$CI_READ_COMMAND"_37 - eval "$CI_READ_COMMAND"
Now the CI Check is ready to be used with your Merge requests.